1. You need a square cut of fabric. The side of the fabric shown is 24.5"/62cm. It makes a big iris (16.5"/42cm wide).

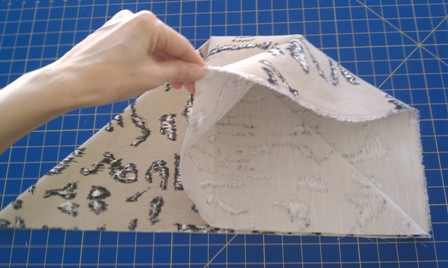
2. Fold wrong side together to make a triangle.

3. Fold it again.

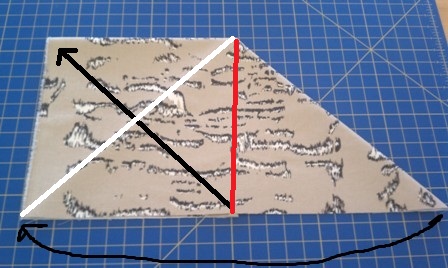
4. Rotate the triangle so that the long side faces toward you. Lift the top layer at the center point of the long side. Open it out and make a square.
*Red line indicates upside-down V-shape fold which is called mountain fold.


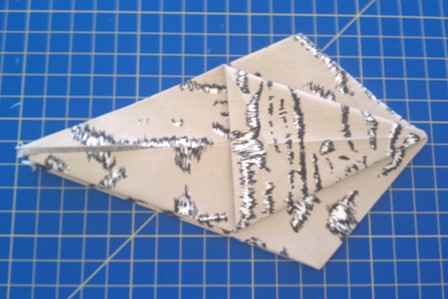
6. Repeat step 5 on the other side.
*White line indicates V-shape fold which is called valley fold.

7. Open out a square and make a diamond shape. Repeat on the other side.


8. Fold the right flap to the left to reveal the smaller triangle. Repeat on the other side.


9. Open out one flap.

10. Reach inside the 'pouch' and pull it out. Repeat on the other side.


11. Fold the top flap down so that the smooth surface shows. Fold the top and bottom corners of the diamond as shown. Note that the left corner is open and the right corner is closed.


12. You are almost done! You need to secure some points before open up the petals. Hand sew where two folded corners meet with thread.

13. Sew the side.

14. Sew all through the fabric near the center.

15. Now open the petals to make it bloom!


Until next time, cheers to you all!
Very cool, Yuki! What an interesting detail.
ReplyDelete